WARDOGS Revive Decisions: Separate Reaching a Teammate From Recovering Them
A recovery succeeds when the team can resume useful play, not merely when someone reaches a downed squadmate. Read the threat, available cover and route out before committing another player to the same exposed place.
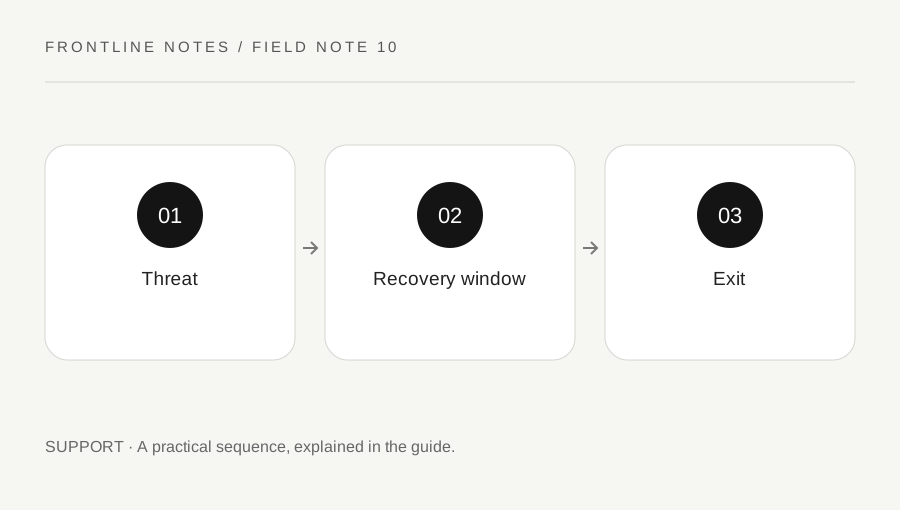
Original explanatory diagram. Examples illustrate a method or decision; they are not claims of personal testing.
Read the state before committing
The WARDOGS overview lists reviving squadmates among its teamplay actions. The exact prompts and eligibility belong to the current game interface; this guide focuses on deciding whether the attempt has a workable window. First identify where the teammate is, what threatened them and what cover remains.
Ask for a short observation if communication is possible. "Fire from the road; wall still intact" is more useful than an urgent demand without direction. Treat the teammate's view as partial information. Their perspective may not reveal another enemy angle or a recent change behind them.
Approach from a position where you can assess the situation without immediately becoming the next casualty. Do not confuse physical proximity with permission to begin the interaction. If reaching the teammate requires crossing the exact line that caused the elimination, something about that threat must change before the same action becomes a stronger plan.
Create a window rather than hope for one
A recovery opportunity may come from cover, enemy attention moving elsewhere or a teammate controlling the relevant approach. Describe which condition makes the attempt possible. If the answer is simply that you want to be helpful, the plan is missing its practical protection.
For example, one squadmate watches the road while another approaches along intact cover. The observer calls when the visible threat changes, and the recovering player can stop or move if the route becomes exposed. These are coordinated jobs rather than two people independently trying to revive the same teammate.
Avoid guaranteeing that an effect or obstruction provides complete safety. Check what the current terrain actually hides and which directions remain open. In a destructible environment, a protected interaction can become exposed before it finishes. Keep communication short enough that the player watching the threat can still hear and respond to the match.
Prepare the first action after recovery
Before starting, consider where the recovered player can go. A teammate returned into the same active line with no cover may be unable to contribute or survive the next moment. Identify a nearby position or retreat that gives the recovery a purpose.
Tell them the plan with a destination, not a lecture. "Move behind the intact rear wall after the revive" is actionable if that wall still exists and the route is clear. The recovered player should then check their current health, equipment and available actions using the live interface.
Do not assume that recovery restores a complete combat-ready kit or that every situation uses the same timing. Read what actually changed. The squad may need to pause, reposition or abandon the original fight. The useful outcome is a teammate who can resume a shared action, not an immediate demand that they return to the most dangerous angle before understanding their state.
Know when another attempt is compounding the loss
Repeated recoveries in the same exposed spot can consume attention while opponents retain the advantage. If an attempt fails, identify what new condition would make the next one different. Without a change in threat, cover or supporting position, repeating the approach is a weak correction.
This does not mean abandoning every difficult recovery. It means choosing deliberately under the actual objective urgency and available options. A team can decide that the risk is justified, but it should understand the risk rather than disguise it as an automatic obligation.
Afterward, review one sequence: original threat, recovery route, protection, and the recovered player's first destination. A failed interaction may have been caused by an unsafe approach; a completed interaction may still have produced no useful recovery. Distinguishing those outcomes helps the squad improve support decisions without judging teammates solely by whether they attempted every possible revive in a match.
A practical checklist
Choices are saved in this browser. Reset them here or clear this site’s browser storage.
Questions that come up
Does being close make a revive safe?
No. Check exposure, support and the route away. Proximity only makes the interaction reachable.
Should two players begin the same recovery?
Coordinate jobs. One may be more useful observing the threat while the other performs the supported interaction.
Does the guide give revive duration?
No. Use the current interface and official updates for exact interaction rules and timing.
References & scope
Background references checked on 18 October 2026. Worked examples and diagrams are original teaching material.