WARDOGS Infantry Movement: Use Cover, Cross Lanes and Survive Destruction
Infantry movement in WARDOGS connects the place a vehicle can safely stop to the ground your team needs to occupy. Sprinting toward gunfire without a destination can waste both the kit and the transport effort that brought you there. This guide gives original tactical advice for the officially described combined-arms battlefield. Reviewed October 18, 2026, it uses the Season 02 / Update 0.2.0 context and avoids unverified damage thresholds, exact armor rankings and supposedly permanent safe routes.
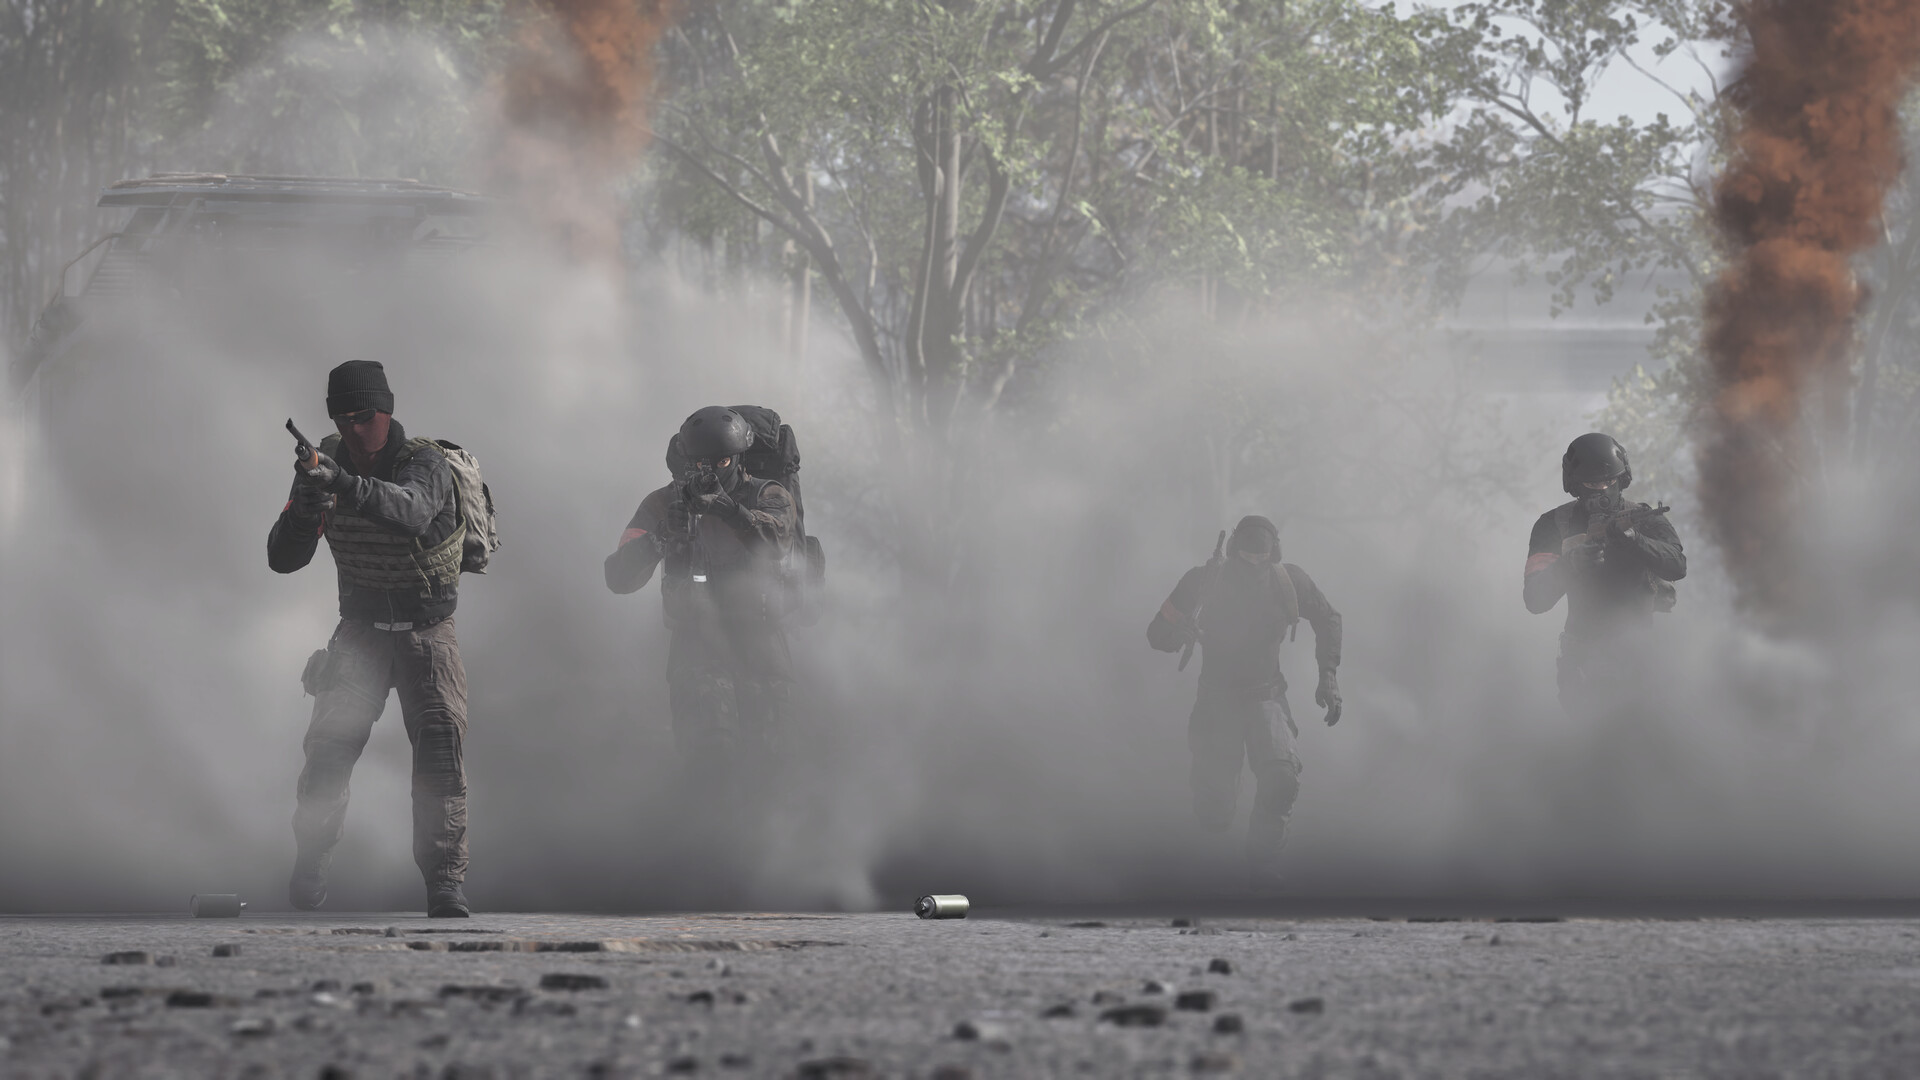
Official game screenshot · Team17. Publisher-provided public store media used to illustrate independent editorial discussion. Copyright remains with the respective rights holders; no redistribution license is offered.
Read the terrain before leaving friendly cover
Identify the next solid position, the route into it and the directions from which opponents can see that route. A low wall may protect a crouched player from one side and offer no protection from an upper floor. Vegetation may hide an outline without stopping fire. Choose a stop that lets you observe the next movement rather than a dead end with no second route. If you cannot see whether a doorway is usable, avoid making it the only destination of a long exposed sprint with no alternative.
Dismount with a purpose
Ask the driver to stop where the group can reach cover, then confirm that you are outside before it moves again. A vehicle’s arrival attracts attention, so avoid standing beside it while deciding what to do next. Move away from the immediate passenger cluster and check the approach. Do not jump into a road watched by an enemy vehicle because it is the most direct line to the objective marker. If the arrival location is already under heavy fire, communicate the problem and seek a safer approach instead of sending each passenger into the same lethal opening.
Cross one exposed section at a time
Break a long journey into short movements between usable cover. Before crossing, know where you will stop and who can observe the main threat. Avoid pausing in the open to reload, read the map or rearrange the backpack. If the crossing becomes unsafe halfway through, prioritize reaching the closest real protection rather than turning a movement into a stationary duel. A teammate covering an angle reduces one risk, not all risks. Maintain awareness of other windows, high ground and the second opposing faction that may be watching a different side of the same lane.
Keep ammunition and handling ready before the corner
Check the weapon’s state while protected and reload when the situation allows rather than discovering an empty magazine after stepping out. Use a weapon and ammunition combination you understand; a costly unfamiliar setup can introduce slower handling or an exposure window you did not plan around. Do not assume every visible attachment fits or every magazine serves the chosen firearm. The developer FAQ describes weight and inventory as part of decision-making, so avoid filling the kit with extras that you cannot operate effectively. Equipment should support the route rather than distract from it.
Treat suppression as a warning to change the problem
Season 02 revised suppression behavior, so old impressions of near misses may no longer match the current build. When an angle is clearly covered, repeating the same peek can keep you pinned without improving the squad’s position. Change the timing, move to another covered route or ask for support on the specific threat. Do not translate screen effects into a guessed damage amount or assume a helmet makes the crossing harmless. The practical question is whether you can reach the next position before the opponent can keep applying fire to the same predictable opening.
Watch structures as well as players
The official game features destruction, so a safe room can become exposed after heavy fire removes a wall or roof. Notice damaged surfaces and keep a second position available. Avoid placing every teammate in the same vulnerable corner because it worked in an earlier match. Listen for changes and reassess after a major impact. If a friendly vehicle or support weapon is engaging near you, communicate your position before moving into its line. A building is part of the changing battlefield, not a permanent box that guarantees the same protection until the match ends.
Recover and resupply from protected positions
If you need healing or ammunition, retreat far enough that the interaction is not happening in the same line that caused the damage. Tell the support player where you can meet rather than demanding a rescue in open ground with no cover plan. Rotate observation while someone uses the relevant item. Keep a route back toward the objective so recovery does not quietly become a long, irrelevant detour. If the squad has exhausted the supplies needed to hold a position, say so early. A planned regroup can preserve a useful force better than waiting until everyone is forced into separate desperate moves.
Measure movement by the ground it makes usable
After a push, ask whether teammates can follow, hold and reinforce the position. A lone elimination at the end of an exposed sprint may be less useful than a covered route that lets several people enter the scoring area. When the route fails, identify the first avoidable exposure: an unsafe dismount, no covered destination, a repeated angle or a collapsed structure with no fallback. Correct it before buying a more expensive gun. Better equipment can improve a fight, but it does not create cover in an open road or make an abandoned approach reinforce itself.
Your working checklist
Checkmarks stay in this browser when storage is available. They do not alter your game or connect to your account.
Put it into practice
- Observe from cover, choose the next protected position and verify the route.
- Dismount deliberately and avoid clustering beside the vehicle.
- Cross in short coordinated movements and reassess when cover changes.
- Recover safely and judge whether the new ground can be reinforced.
Before you finish
- Vegetation and solid cover do not provide the same protection.
- A destructible room needs a fallback position.
- Do not repeat an angle simply because the first attempt almost worked.
Common questions
Should I always take the shortest route to the objective?
No. Compare exposure, actual cover, traffic and whether teammates can support the arrival.
Does a heavier helmet make every push worthwhile?
No. The current build has tradeoffs and balance changes; protection does not remove the need for a sound route.
What should I practise first?
A safe dismount followed by a short covered approach that your squad can repeat and reinforce.