WARDOGS Control Zone Tactics: Turn Presence Into Useful Ground
The Control Zone is a scoring area, not simply a marker telling every player to sprint toward the loudest building. Good objective play connects the boundary, surviving teammates, approach routes and the smaller high-risk fight around the Hot Zone. This guide provides original tactical reasoning for the officially described mode. Sources were reviewed October 18, 2026 in the Season 02 / Update 0.2.0 period. Use current HUD information whenever a boundary, position or rule differs from an old beta map.
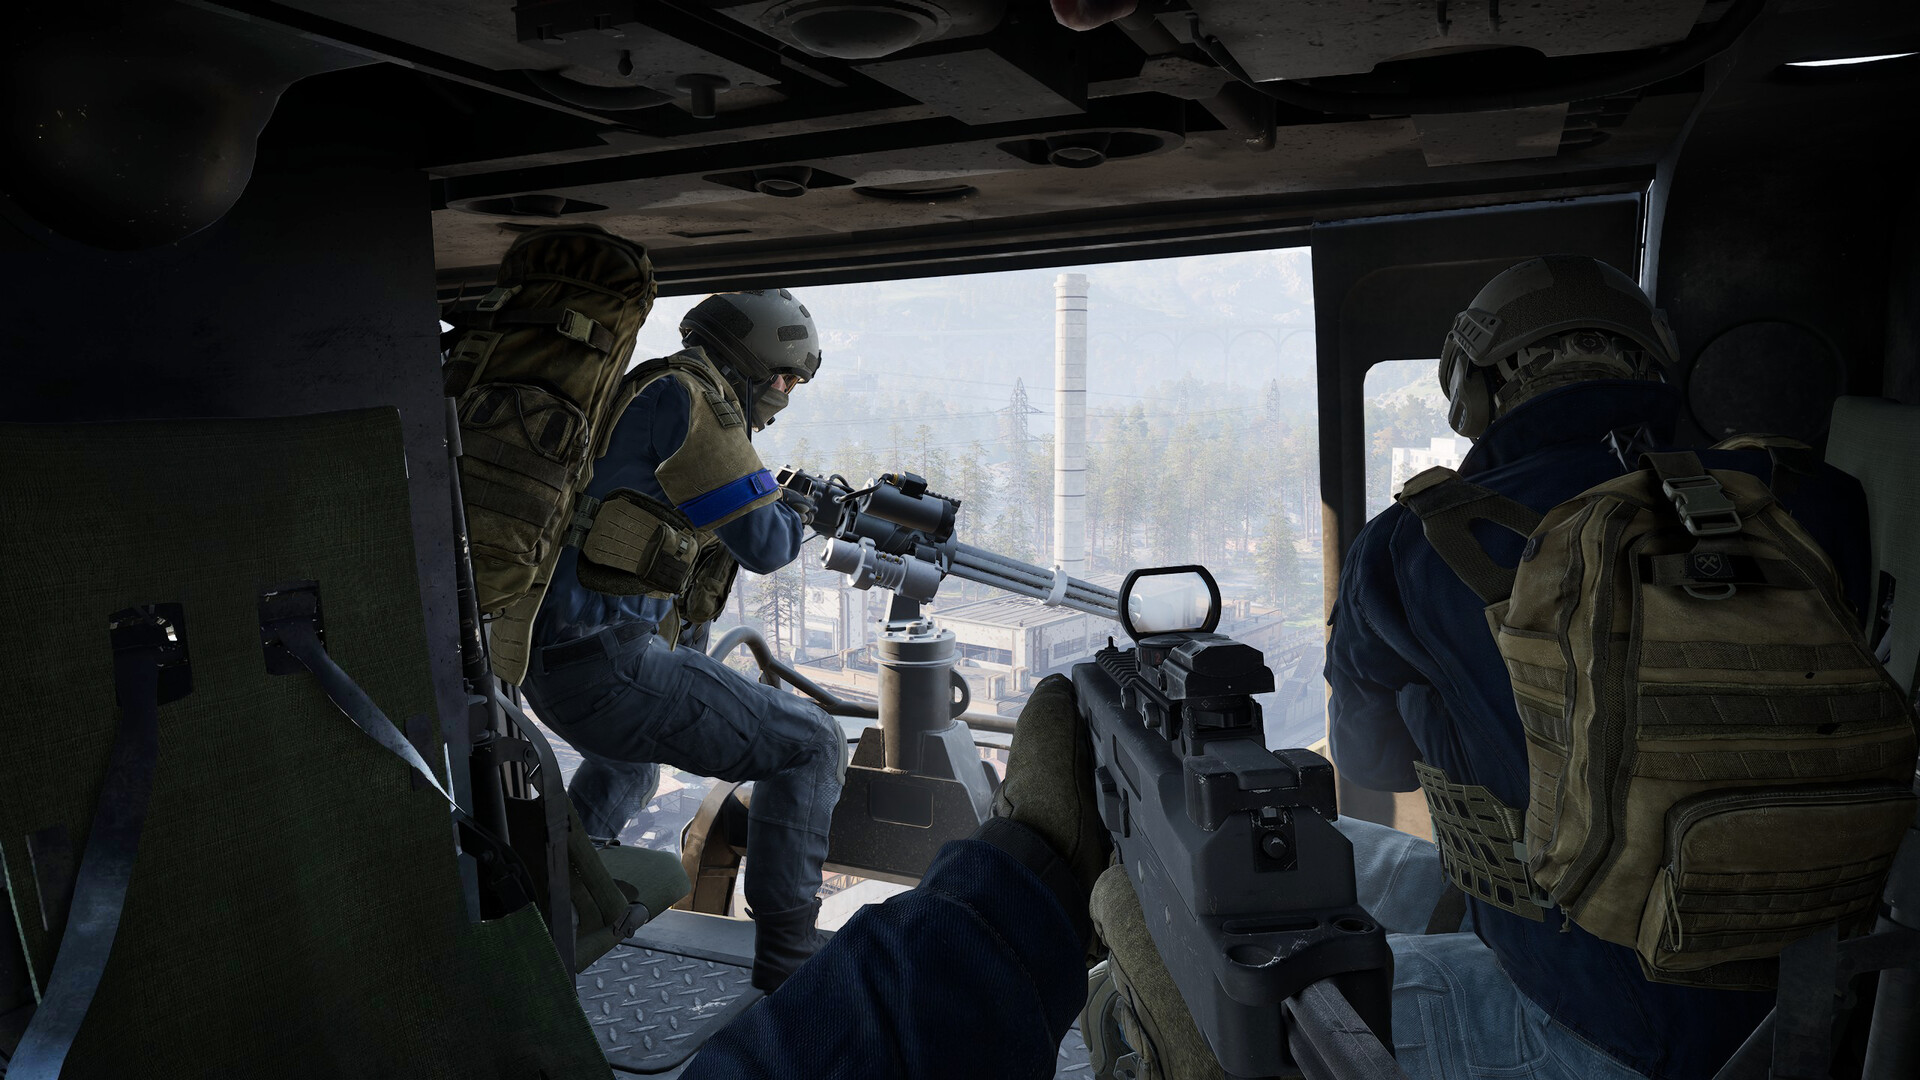
Official game screenshot · Team17. Publisher-provided public store media used to illustrate independent editorial discussion. Copyright remains with the respective rights holders; no redistribution license is offered.
Read the boundary before choosing a firing position
Open the map while protected and identify where your current location sits relative to the Control Zone. A good view of opponents does not automatically put you inside the scoring area. The official core rule rewards the team with the largest presence within it, so a position should be judged by both what it can defend and whether it contributes to that presence. Mark a covered place just inside a useful approach rather than stopping indefinitely outside because the sightline looks comfortable. If you support from outside, know which teammates can use that support to enter.
Locate friendly concentrations and empty approaches
Observe where your team already has people and where they are being stopped. Reinforcing a working approach can be better than opening a solo fight that nobody else can reach. Conversely, if every teammate is trapped in the same narrow lane, another covered entry may allow the group to spread. Do not infer that an unoccupied section is safe; it may be watched from another angle or difficult to reinforce. Ask the nearby squad what it needs, then move to a position that improves its route rather than adding one more person to a blocked doorway.
Treat the Hot Zone as a risk decision
The official overview advertises extra cash for playing the Hot Zone. That is an incentive to consider the area, not a promise that every approach is profitable. Examine the crossing, available cover and whether friendly players can arrive together. A valuable position reached by only one exhausted player may be quickly lost. Do not abandon every stable defensive location just because a smaller marker attracts attention. The useful question is whether moving now adds sustainable objective pressure. If the approach is clearly covered, first change the angle, organize transport or remove the specific obstruction.
Enter with a destination beyond the boundary
Crossing the zone line is the beginning of the movement, not the end. Identify the wall, terrain depression or interior you will occupy after entering. Pause there, check the next angles and allow teammates to catch up. A group that stops in open ground while reading the map can lose the benefit of arriving together. Keep a fallback that does not require crossing the same enemy sightline again. If your selected structure is under heavy explosive fire, choose a second location rather than assuming the original plan must remain correct because it was discussed at spawn.
Use construction to solve a real weakness
WARDOGS supports fortification and destruction, so cover can change during a match. Before helping build, ask what the structure protects: an approach, a logistics point, a regroup area or a position the team can actually hold. Leave lanes for friendly movement and vehicles instead of closing every gap. A large base disconnected from the current objective may consume attention without adding useful presence. Season 02 changed construction economics and build balance, making copied early-build shopping lists especially fragile. Read the current build requirements and contribute to a plan whose purpose you can explain.
Respect that cover can disappear
A wall or building is not a permanent guarantee when the game includes heavy weapons and destruction. Notice whether the position is already taking explosive fire, and identify where the squad will move if a section collapses. Avoid crowding everyone under a single damaged roof. Preserve observation of flanks while fighting the immediate lane because a second faction can approach from another direction. The presence of three teams matters: the opponent you are shooting is not the only group that can contest your ground while you are distracted by the first.
Reinforce in groups instead of feeding one life at a time
When an approach repeatedly fails, regroup before buying another identical attempt. A few teammates arriving together with a known crossing and a clear destination can do more than a steady stream of isolated people. Agree who watches, who crosses first and what signals the rest to move. If the group lacks a needed tool, change the plan or obtain it rather than pretending enthusiasm replaces equipment. Transport and support should connect the next wave to the objective, not scatter everyone at separate distant stops without a shared route inward.
Judge the result by sustainable control
After reaching a position, ask whether teammates can resupply, recover and return to it. A dramatic push that cannot be reinforced can disappear before it affects the larger match. If your team is already controlling useful ground, avoid leaving it merely to chase a retreating opponent far outside the boundary. Keep watching the score and objective status so a change does not catch the squad committed to an irrelevant fight. When the plan fails, identify the missing link: safe arrival, protected presence, support or reinforcement. Correct that link instead of repeating the same charge with more expensive guns.
Your working checklist
Checkmarks stay in this browser when storage is available. They do not alter your game or connect to your account.
Put it into practice
- Locate the live scoring area and select a position with a clear purpose.
- Reach cover as a group and check flanks from both opposing teams.
- Use support, transport or construction to fix the actual bottleneck.
- Maintain a reinforceable position and reassess when the match changes.
Before you finish
- A distant firing position may not contribute to territorial presence.
- Three teams create additional flanks beyond the opponent in front.
- Destructible cover requires a second position and a movement plan.
Common questions
Should I sprint straight into the smaller high-reward area?
Only after judging the approach and friendly support. Extra reward does not make an exposed crossing safe.
Is building a large base always useful?
No. Its location, supply route and connection to the objective determine whether the effort helps.
What should we change after repeated failed pushes?
Regroup and fix the approach, equipment or reinforcement problem before spending on another identical rush.